Whether you’re a seasoned pro or a brand new RV adventurer, you likely take the time to make sure your mobile vacation home is in tip-top shape throughout the year. During the cold winter months, this means properly winterizing your RV to prevent thousands of dollars in damages.
Winterizing your RV is especially important if you will not be taking it out on any adventures and simply putting it in storage. However, even if you’re opting out of season-long storage and taking your RV on cold-weather adventures, it’s important to keep your RV properly protected against freezing temperatures while it’s not hooked up.
Here is helpful, at-a-glance winterizing RV checklist to keep protected during the winter season.
- Remove Inline Water Filters
- Drain Tanks – Including Fresh Water Holding Tank, Grey and Black Holding Tanks, and Water Heater Tank.
- Open All Hot and Cold Faucets – Including Shower and Toilet Valve
- Open Low-Point Drain Lines
- Ensure All Water Is Out of Lines – Close Faucets and Recap Drains
- Winterize Water Lines with Antifreeze by Installing a Water Heater By-Pass Kit (Unless Already Installed)
- Install a Water Pump Converter Kit or Disconnect the Inlet Side of the Water Pump
- Turn on the Water Pump and Allow System to Pressurize
- Slowly Open Each Faucet and Flush Toilet Until Pink AntiFreeze Appears
- Turn off Water Pump and Open Faucet to Depressurize
- Pour a Cup of Antifreeze into Each Drain and Toilet, Flushing Toilet to Allow It to Enter the Holding Tank
- Ensure All Electrical Elements Within the RV Are Switched Off
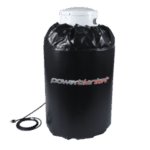
- Protect Your Propane Tank With a Safety-Certified Heating Blanket
Let’s take a closer look at the main steps of winterizing your RV.
The following steps should apply to most RV makes and models; however, consult your user manual before winterizing to familiarize yourself with any specific requirements your RV has.
Click here for a printable version of this checklist!
Drain The Tanks In Your RV
- Remove any inline water filters that are in your RV. These are generally connected to the sink or fridge, if your RV has them.
- Drain the fresh water holding tank.
- Drain the gray and black holding tanks next. Most RVs now have a built-in flushing system for the tank. However, if this is not the case with your RV, don’t worry. You can purchase and use a wand from a local hardware store. You can also use Flush King or a similar product that will also effectively clean these tanks. Once you have done this, use a lubricant such as WD 40 on the termination valves.
- Drain the water heater. Remove the outer panel. Release the pressure on the pressure release valve. Use a socket to remove the drain plug once the pressure has been released (Make sure you do this to avoid having the plug shoot out at you.) Never drain the water heater when it is hot.Draining the water heater will help you avoid a potentially cracked water heater when the spring comes.
- Open all faucets for both hot and cold water. This includes the outdoor shower, if your RV has one. Remember the toilet valve as well.
- Open the low point drain lines on your RV and recap drains. You can allow the lines to simply drain slowly, or you can choose to use a water pump to push the water through more quickly. Once this is done, put the caps back on all drains and close each faucet.
Winterize the Lines in Your RV With Antifreeze
- Install a water heater by-pass kit. Check to see if your RV has an already-installed water heater by-pass kit. If not, head to your local hardware store and purchase one. This is an important step because without this kit installed, you’ll have to spend a lot of money on antifreeze, filling the water heater with 6 gallons (every time you winterize) before it will go through the rest of the system. You can also choose to have one professionally installed.
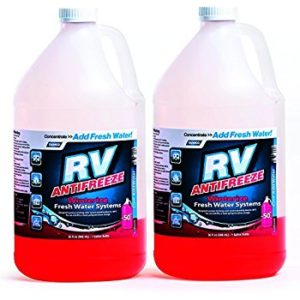
- Install a water pump converter kit or disconnect the inlet side of the water pump. This kit allows you to bypass the fresh water tank and utilize the water pump to fill your RV’s water lines with antifreeze. Alternately, if you choose to disconnect the inlet side, purchase a clear piece of tubing and connect it to the inlet side of the pump. You will use this tube by inserting it into the antifreeze. Make sure to use RV antifreeze that is non-toxic.
- Pressurize the RV’s system by turning on the water pump. This will push the antifreeze through the entire RV water system. Starting with the faucet closest to the pump, slowly open each faucet until antifreeze appears. Don’t forget to flush the toilet as well. Once this is done, you can turn off the water pump and open the faucet to depressurize the system.
- Pour a cup or two of RV antifreeze into each drain and toilet. Flush the toilet to allow the solution to enter the holding tank.
- Close all faucets.
Ensure That All Electrical Elements Within the RV Are Switched Off During Storage
If your water heater has an electric heating element, be sure to turn off the switch. Doing so will keep it safe if the RV is plugged in during storage. Turn off the RV’s main circuit breaker. Turn off all appliances. Finally, remove all batteries from alarms, detectors, clocks, and radios so they don’t drain while not in use.
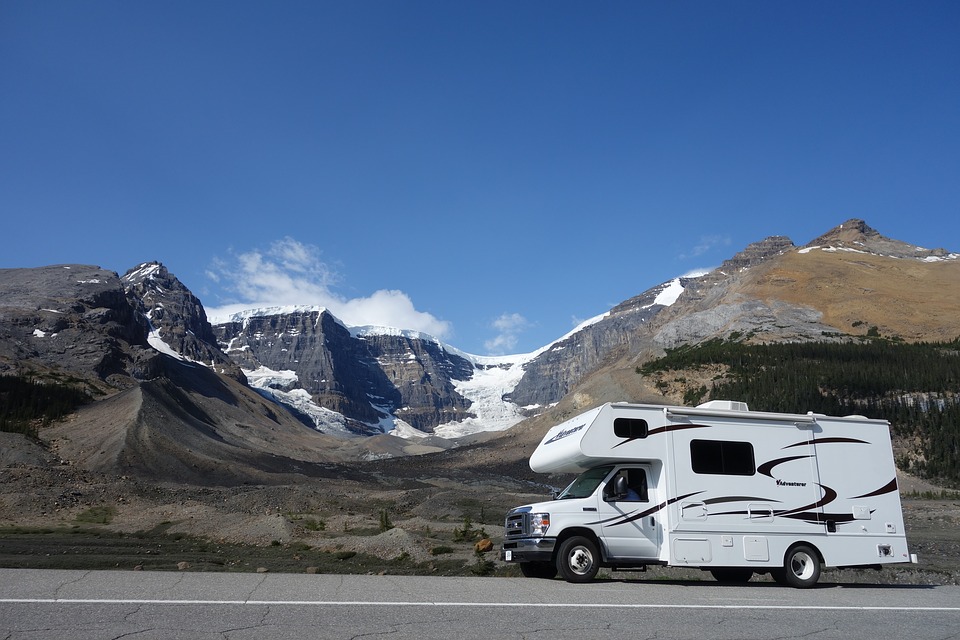
Winter RVing
Protect Your RV’s Propane Tank
If your RV is equipped with a propane tank, it is important to protect it. During the cold winter months, propane tends to deplete when left sitting in an unprotected tank. One of the most effective ways to protect against this, as well as tank pressure loss, is to keep the propane at a moderate temperature using a dry, safe heat source.
Doing this will keep you from having to fill back up once it’s time to get out on the road again in the spring, saving both time and money in the process. And if you’re a winter RV fan, keeping that propane working on your adventures is even more important so you avoid freezing in the middle of the night!
Call Powerblanket Today for Your Propane Winterizing Needs
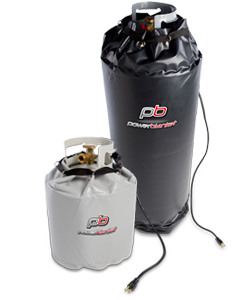
To protect your RV’s propane tank, check our Powerblanket’s Propane Tank Heaters.
These blankets are created especially with propane tanks in mind. Here’s what you can expect from one of our quality propane tank heaters:
- Made to Fit Almost Any Size of Tank
- Maintain Optimal Pressure and Efficiency
- Provide Uniform Barrier of Heat Across Entire Tank’s Surface
- Easily Installed and Maintained
- UL/CSA/CE Safety Certified
Don’t wait until you experience propane issues on an adventure or at the beginning of spring to consider protecting your tank. Here at Powerblanket, we specialize in safely and effectively heating all gas delivery systems. Give our knowledgeable experts a call today with all of your questions.
Reach us at 866.536.9259.
Frequently Asked Questions
How much RV antifreeze to put in a fresh water tank?
Pour at least 4 gallons of RV non-toxic antifreeze into the freshwater tank to ensure the water pump can draw the antifreeze effectively.
How many gallons of RV antifreeze do I need to winterize my boat?
To winterize a boat engine, you'll typically need at least two gallons of antifreeze, but the exact amount can vary based on the engine size and plumbing setup.
How much antifreeze is needed to winterize a toilet?
Add about three cups of antifreeze to both the tank and bowl to prevent freezing and protect against sewer gas venting.
How much to winterize an RV?
The cost of winterizing an RV can range from a few hundred to several thousand dollars, depending on the services required and the specific needs of your RV.
Keep your propane tanks at the perfect pressure with Powerblanket.


