
How to Pour a Perfect Concrete Slab
So much of the success of any concrete pour happens well before the truck arrives with the mixed concrete. The following details the step-by-step process for pouring a concrete slab from beginning to end.
- Safety First
- Designate and Prep Area
- Create Concrete Forms and Level Grade
- Install Rebar
- Pour the Concrete and Spread
- Screed, Float, and Trowel
- Round Slab Edges
- Clean Tools
- Protect Pour
Safety First
As you prep the area and follow-through with the pour, safety should always be top of mind.
- Make sure to maintain a clean job site, dispose of waste, and keep equipment clean and out of the way when not in use.
- Whether your project is commercial or DIY, make sure all participating are using appropriate personal protective equipment (PPE): gloves, boots, goggles and/ or HEPA-filter respirators (for mixing cement powder).
-
Prepare all involved with hazard training
-
Potential hazards for concrete workers in include:
- Eye, skin and respiratory tract irritation from exposure to cement dust
- Inadequate safety guards on equipment
- Inadequate lockout/tagout systems on machinery
- Overexertion and awkward postures
- Slips, trips and falls
- Chemical burns from wet concrete
-
Potential hazards for concrete workers in include:
- Call the appropriate organizations to mark the designated area for utility lines.
Designate and Prep the Area
After securing proper permitting and having any outdoor areas marked for utilities, measure out the length, width, and depth of your project. Whether you are pouring a concrete slab for a backyard basketball court, a new driveway, or a slab for your new shed, knowing your dimensions will help you know how many pounds of concrete to order. You can also use an online concrete pad calculator to calculate what you will need.
What’s Under the Slab?
The ground below your concrete slab is critical to a successful job. This is no different than the foundation for a building. A concrete slab is not intended to be self-supporting. The “soil support system” beneath it is there to support the slab.
The American Concrete Institute’s “soil support system” definition help us understand the different components:
- Subgrade—this is the native soil (or improved soil), usually compacted
- Subbase—this is a layer of gravel on top of the subgrade
- Base (or base course)—this is the layer of material on top of the subbase and directly under the slab
The only layer that is absolutely required is the subgrade—you have to have ground to place a slab on ground on top of. If the natural soil is relatively clean and compactable, then you can put a slab right on top of it without any extra layers; however, the soil may not drain well and it can be muddy during construction if it gets wet.
Mike Crane of Mike’s Concrete in South-Central Utah said, “A base with adequate compaction will prevent cracking. A solid foundation is important for your foundation.”
Create Concrete Forms and Level Grade
After the base is prepared, build the concrete forms. Wooden forforms are the most basic and conventional type of concrete forms. Click here for a guide to create concrete forms on your own.
Smooth the ground with the flat side of a rake and fill in any low spots with extra dirt. Check for level by placing a level directly on the ground.Tamp down the surface with either a hand tamper or a machine tamper. Pack the soil until you can no longer see a footprint when you walk across the surface. If adding gravel, pour the gravel base and tamp it down to pack it tightly. Check for level again. Continue this process until the base is level.
Your slab should have a minimum slope of 1/8-inch per foot to keep water from pooling. If the proper slope can’t be met down to the curb, angle the slab to one side or the other so the water runs off in the same direction as the natural grade of the yard.
Install Rebar
Rebar is easy to set in place prior to your pour and it helps reduce the cracking and breaking common in concrete. Rebar provides strength to concrete and saves money because the project will last longer.
Reinforcements are not required for all concrete work. Projects such as pathways, some driveways and small shed or playhouse floors, generally do not require any steel reinforcing. However, heavy traffic areas such as driveways, garage and carport floors, and larger shed floors will only benefit from steel reinforcing. Rebar offers great added strength.
According to constructionprotips.com, you should:
- Install 1/2-inch rebar in a 2-foot grid pattern when pouring driveways.
- Tie the rebar together with precut rebar ties fastened with a tie-wire twister.
- Use enough ties so the grid will stay together if it’s accidentally stepped on while suspended in the air.
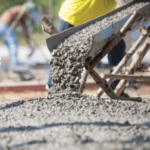
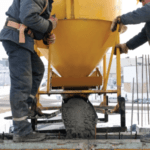
Pour the Concrete and Spread
Watch the weather. Depending on the weather and location, it is wise to work with your concrete supplier to determine the best mix design for your project. Avoid hot, windy days if possible. This kind of weather accelerates the hardening process—a slab can turn hard before you have time to trowel a nice smooth finish. If the forecast calls for rain, reschedule the concrete delivery for a dry day.
When ready to pour, have a few construction grade wheelbarrows on hand and three or four strong helpers. Plan the route the truck will take. For large slabs, it’s best if the truck can back up to the concrete forms.
Pour the concrete in small sections,. Move the chute back and forth and have the driver pull forward as you go. Spread the concrete evenly, and a touch higher than the form, with a concrete placer/rake. Don’t fill the whole form or giant sections because the extra concrete you’ll drag back with the screed board will get too heavy.
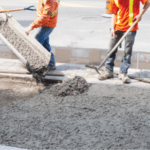
Screed, Float, Trowel, and Round Edges
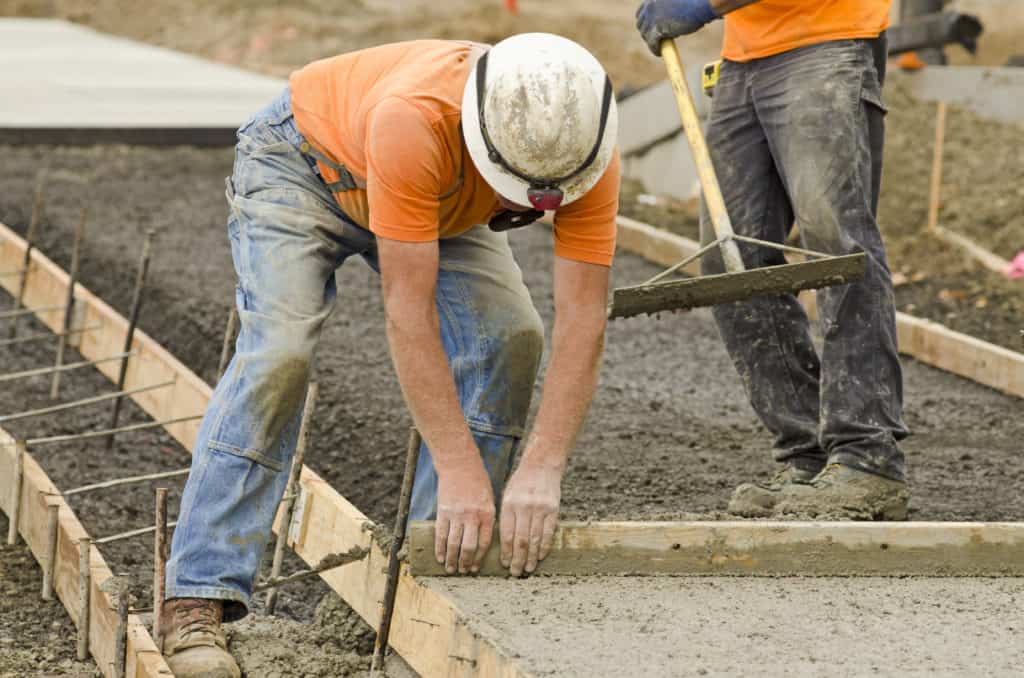
Initial Leveling
Drag a straight 2×4 (screed board) across the top of the concrete forms to level the concrete. Make multiple passes if needed to create a flat, evenly filled area. Have a helper add or remove concrete in front of the screed as you pull it. Using a back and forth motion with the screed board will fill in voids and increase workability.
The trick to easy screeding is to have a helper with a rake moving the concrete in front of the screed board. You want enough concrete to fill all voids, but not so much that it’s difficult to pull the board. About 1/2 to 1 in. deep in front of the screed board is about right. It’s better to make several passes with the screed board, moving a little concrete each time, than to try to pull a lot of concrete at once.
Floating
Start bull-floating the concrete as soon as possible after screeding (The goal is to remove marks left by screeding and fill in low spots to create a flat, level surface. Bull-floating also forces larger aggregate below the surface. Keep the leading edge of the float just slightly above the surface by raising or lowering the float handle. If the float angle is too steep, you’ll plow the wet concrete and create low spots. Three or four passes with the bull float is usually sufficient. Too much floating weakens the surface by drawing up too much water and cement.
Whenever possible, run the bull float perpendicular to the direction you pulled the concrete with the screed board. THis will help smooth out the ridges, troughs and valleys created during screeding. Most professionals like to float in both directions when possible
Trowel
For small surface areas use a hand trowel; for larger areas Walk-Behind Power Trowels, or even Ride-On Trowels are a much better option, because they are faster and more efficient. Power Trowels are fairly easy to use, but like any piece of equipment, it takes training and a little practice to maximize their potential.
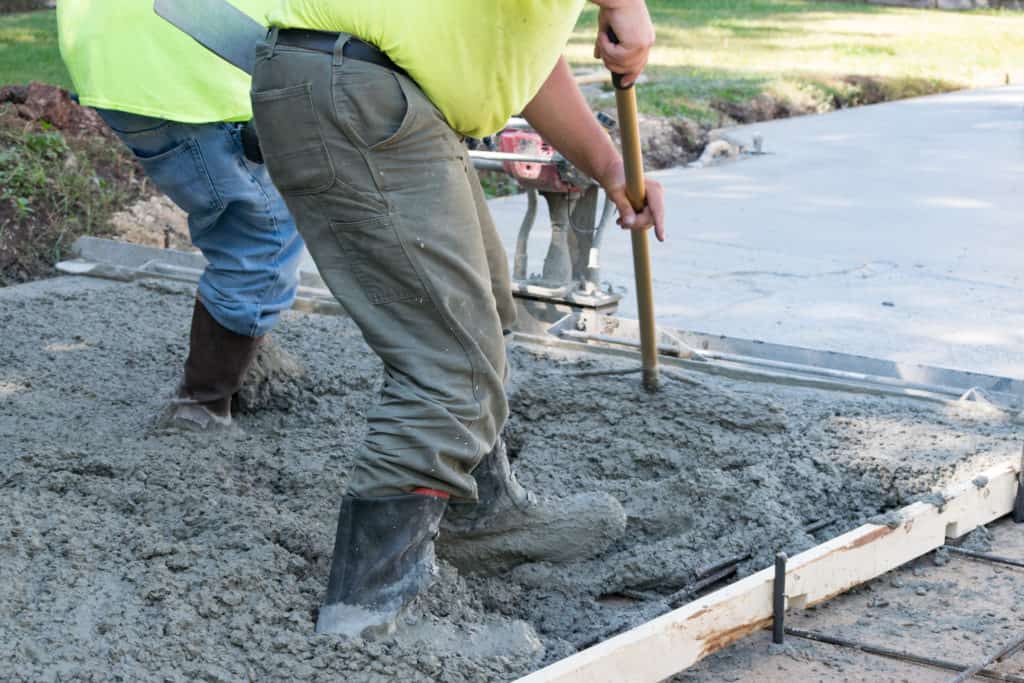
Here’s an easy test to know when your slab is ready for the trowel: Can the operator stand on the concrete surface, and leave footprints about 1/8”-1/4” in depth? and you can walk on it firmly without the top layer sticking to your boots ?If you can say yes–it is ready to go.
Right away you will be able to tell if you are working the top 1/4″ slurry, or if you’re sinking in. Watch closely and stop if you think it’s too soft.
At this point, if you want to create a non-slip surface, broom the concrete.
Round Slab Edges
Edgers produce a neat rounded edge on the slab perimeter to help the slab resist chipping and spalling damage after the concrete forms are removed. Edge after the bleed water disappears from the concrete surface, but before the forms are removed.
Clean Tools
Wash your tools immediately following use to increase longevity of use.
Protect Your Pour
Pouring a perfect concrete slab is complicated and time consuming. Do not jeopardize all of this work. Protect your pour from traffic and the elements to ensure maximum concrete strength.
Powerblanket Concrete Curing Blankets protect your pour from adverse weather conditions. Learn more here.
Frequently Asked Questions
Can I pour a concrete slab yourself?
Yes, you can pour a concrete slab yourself if you have the necessary skills, tools, and physical ability, but for larger projects or if you're inexperienced, consider hiring help to ensure safety and quality.
How much does a 20x20 concrete slab cost?
The cost of a 20x20 concrete slab varies based on thickness, ranging from $1,600 to $4,800, with thicker slabs being more expensive.
How deep do you dig for a concrete slab?
For a concrete slab, you typically dig 8 inches deep to accommodate 4 inches of compacted stone and 4 inches of concrete.
Can I pour concrete directly on dirt?
No, it is not advisable to pour concrete directly on dirt; instead, ensure a proper subgrade with compacted soil or gravel to support the slab.
Cure your concrete faster and better in cold weather conditions with Powerblanket.